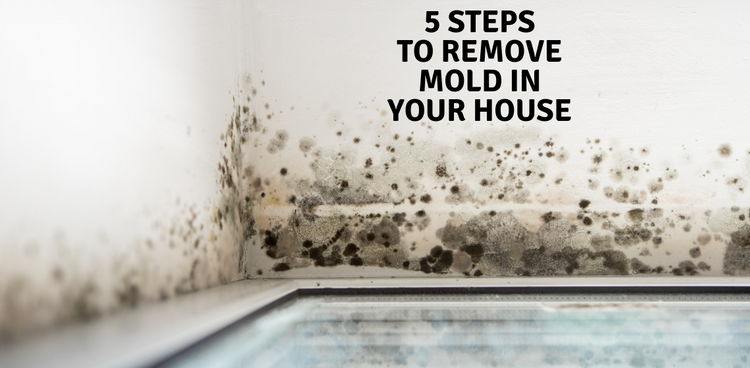
5 Steps to Remove Mold in Your House | RMR Brands Mold Products
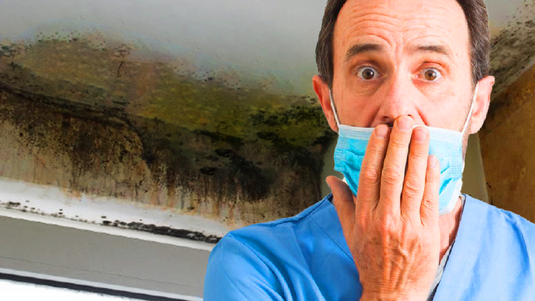
Among all potential issues homeowners face, mold may be the one that causes the most headaches - both figuratively and literally. Left untreated, it can lead to dizziness, coughing, and more. If you suffer from asthma or allergies, it can actually result in lasting health problems.
And yet, it's a common sight especially in older homes. You might find it in your kitchen, basement, or under your carpet. When that happens, you need to know your next steps.
Ideally, your mold treatment should be sustainable. That means not just removing the symptom, but actually getting rid of the core problem. Mold removal is best when it doesn't just take care of your present issues, but prevents it from occurring again in the future. To help in that regard, consider taking these 5 steps to remove the mold in your house on a lasting basis.
1) Find the Mold
This step might seem obvious at first. Of course you need to find the mold in order to remove it. But the key here is being both proactive and thorough. Detecting mold can be simple or complex, depending on how thorough you want to be.
Proactive Discovery of Mold
If your home or a specific part of your home smells musty or damp, there might be mold in the area. Frequent headaches, itchiness, or other allergy symptoms point to the same problem. When you experience either of them, it's time to go on the hunt. Look for visible signs, but don't be afraid to get some mold testing done to find more hidden spots under carpets and behind walls.
The Importance of Being Thorough
Proactive testing helps you take care of a mold issue before it becomes a serious problem. Once you find a spot, don't assume that it's the only area actually effected. Additional tests can help you determine whether the surface mold you see is the extent of the issue, or if you have to dig deeper to find more.
2) Take Care of Surface Mold
Once you've discovered an issue, it's time to take care of it. Removing surface mold is the easiest part; all you need is the right cleaning product.
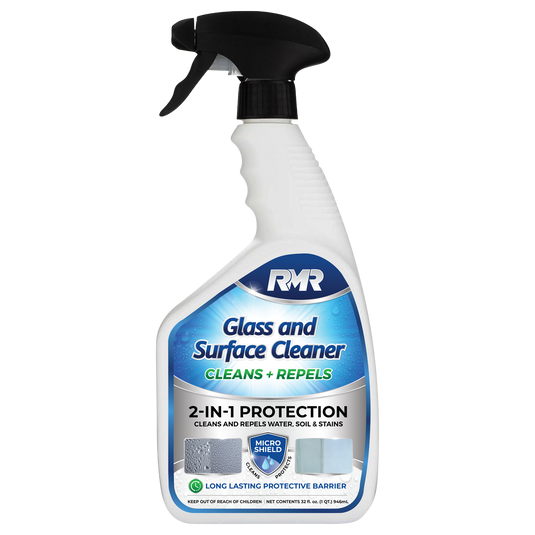
Characteristics of a Good Mold Cleaner
Any mold treatment depends on using cleaning products that actually suit your needs. First, they have to be effective for the surface area you are looking to take care of. Hardwood, for instance, might require a different cleaner than stone walls. It also makes sense to look for products that are safe and environmentally friendly, in order to prevent further issues down the road.
Why Proper Safety Gear is Essential
As you remove the surface mold, be sure to wear the PPE. Latex gloves and safety glasses are usually enough for small, surface areas.
3) Look for Underlying Problems
Too often, the surface mold you find is only the tip of the iceberg. Drywall, for instance, is high in cellulose, making it very hospitable to mold and mildew. Don't stop at cleaning the surface; in addition, you need to look for potential underlying problems as well.
A Step to Finding Deep Mold Damage
In addition to drywall, wall cavities tend to be moist, and are susceptible to mold. One simple step you can take to look for damage beyond the surface is taking a screwdriver, and inserting it into the mold area. If the wood below the surface feels soft, you probably have a deeper-lying mold issue.
Thorough Steps of Mold Removal
In that case, you might need to take more thorough steps to aid your mold removal. You might need to cut out and replace sections of the infested area. You also need to suck the moisture out of the wood, which humidifiers can accomplish. Significant underlying mold issues might require the help of a pro.
4) Clean the Mold Stains
Once you've removed the problem, it's time to take care of the symptom. Naturally, even after the active mold is gone, you want to make sure that it doesn't still look like an issue. The easiest way to accomplish that is by using a mold stain cleaner.
Keeping the Future in Mind
Look for a mold stain cleaning product that helps to not just clear the mold, but prepare the surface for future painting. It should also include ingredients that are specifically designed to prevent any mold from growing again in the future. That way, you don't just clean the stains, but also take proactive steps for the future.
5) Control the Humidity in Your Home
Finally, it makes sense to face the future. Once you discover mold in your home, you want to not just take care of the problem, but prevent it from happening again. One crucial step to accomplish that goal is controlling the humidity in your home.
Ideal Home Humidity to Prevent Mold Growth
Mold loves humid environments, which is why you should keep your home at about 50% humidity to prevent it from growing. If you cannot get to that temperature naturally, consider running a dehumidifier or installing air conditioning that dehumidifies your home.
Additional Steps to Prevent Mold
In addition to controlling your home's humidity, WikiHow also suggests some other steps on preventing mold from growing in your home:
- Keep your floors and walls dry, and clean up any spills as soon as they happen.
- Open your windows frequently, especially during winter to avoid warm air to get trapped inside.
- Maintain your air conditioner during warmer months to make sure it functions well and doesn't build up condensation.
- Keep your gutters and downspouts clear to allow rain to flow away from your home.
- Repair any water and roof leaks as soon as you notice them.
The Importance of Sustainable Mold Removal
Nobody wants mold in their home. Fortunately, even if you discover a problem, you can take these steps to take care of it. With the right approach and products, you can eliminate the issue and prevent it from happening again. That way, everyone in the home stays safe and healthy for years to come.